
Tomas Egger
-
Posts
3517 -
Joined
-
Last visited
-
Days Won
20
Content Type
Profiles
Forums
Events
Everything posted by Tomas Egger
-
Ola, I forgot the last Snap Shot: And the Project Files: TOM.zip Enjoy it Thanks Tom
-
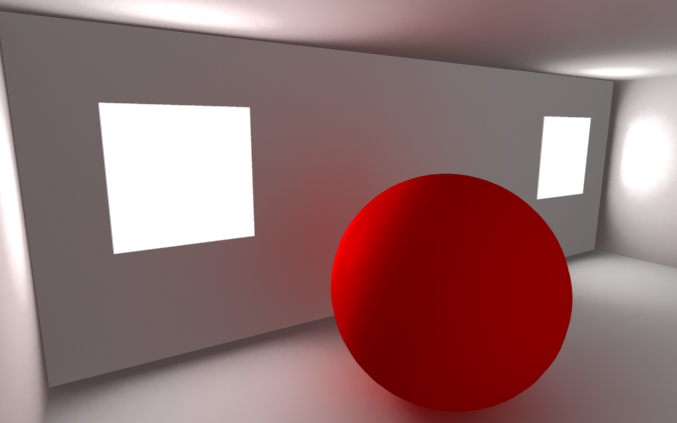
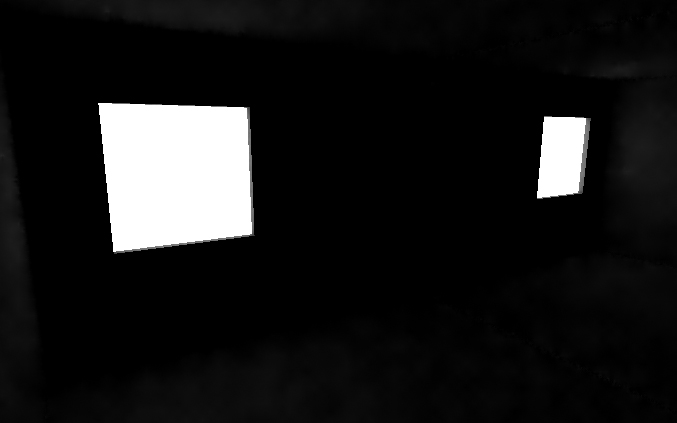
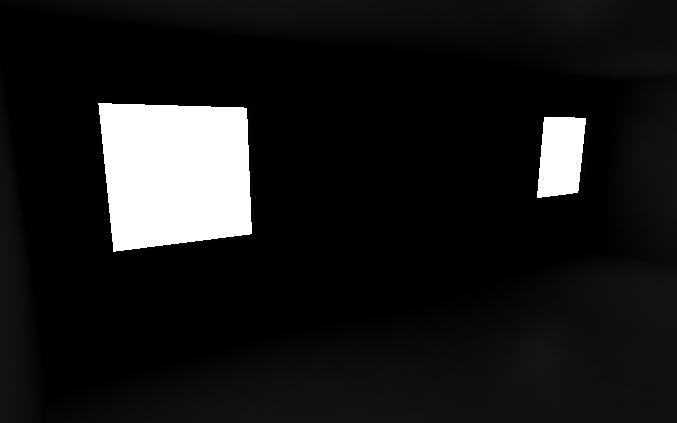
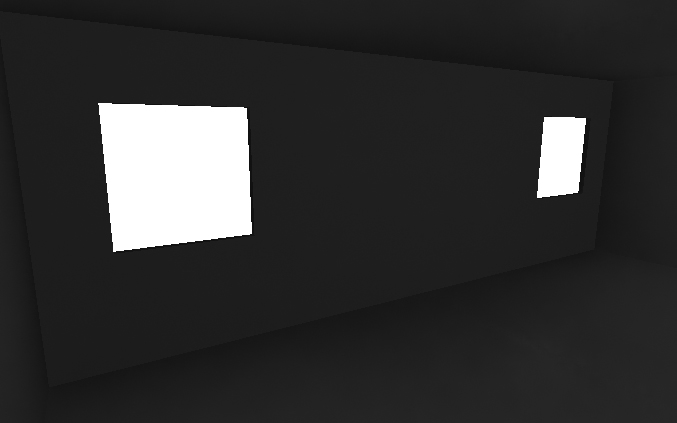
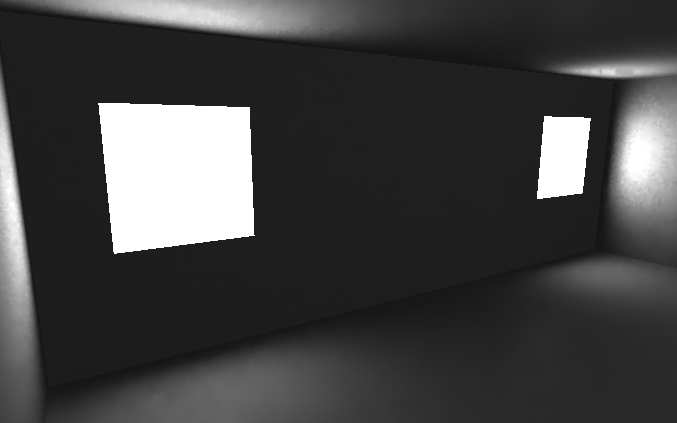
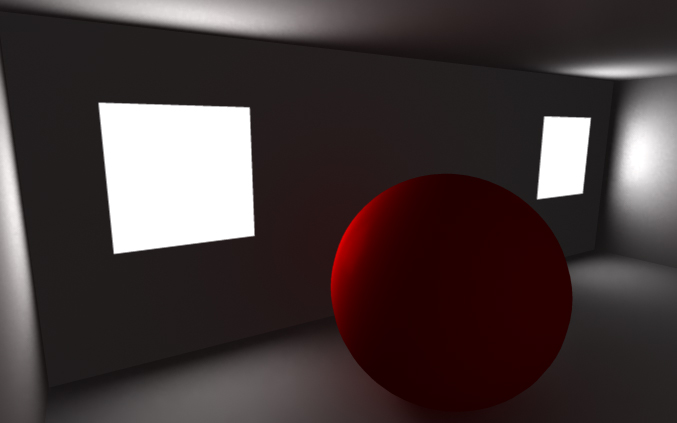
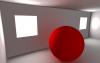
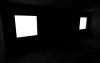
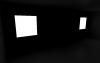
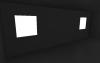
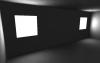
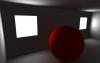
Ola Dan, Lets Go (all Projects included in the attachment): 1) Turn off Render Window AA to speed your render 2) GI Window, change your Primary rays to 50.0 3) Duplicate your Room Effector and scale it in X axis -1.0 and move it to X-2.315, Y=0.9299, Z=0.0 (to close your room and to give more space to Camera see whats happening) 4) Move your Camera and change your the lens to 16mm 5) Change in the Camera 1 Info window / Roto_Comp /Background Color to White 6) Change in the GI window / Skylight from 0.5 to 1.0 7) Reverse Illumination Bounces to 1.0 8) Do a Snap Shot, It will be something like this: 9) Its clear, GI Skylight doesnt help in interior scenes, only a really small amount of Rays of the Raytrace engine will enter in the Windows's room. 10) Disable GI Skylight check box. 11) Place your Light 1 in the middle of both Windows and next to the wall 12) Change Light type from Radial to Area Light 13) Place the Area Light Reference in the Opposite wall of the windows 14) Light 1 Info Window / X-Form / Area Light Size U=4.1 V=0.8 15) Enable Raytrace Shadow 16) Enable Use GI Sampling Engine in the same Shadow Tab 17) Change the Optimize Distance value from 0.0 to 2.44 (My Light To Reference Distance in the X-Form tab) 18) Go to Area Light 1 info window / Properties / Area Light Tab / and change the cool feature “Block Distance†from 0.0 to 0.13 (which tells to Camera Analyze the walls and see where the Rays are blocked by the walls or not, this means, all the 100 Rays will be going in the windows holes without loose any ray) 19) Change in the GI Window the Color Tolerance from 1.0 to 3.0, It will make the Shadows details more precise. 20) Do a Snap Shot, You will have something like this 21) Photons time: 22) Go to Photons / Photons Map Tab: 23) Enable Generate Photon Map 24) Change the GI Lookup Radii value from 2.0 to 4.0 (this is a value which I found interesting in all my project scenes) 25) Change Baking pop-up to Database (Hit OK only) 26) Change the Calculate Pop-up to Permanent, It will tell Camera to Save the Photon Cache, if nothing is animated in the scene, only the Camera, it will read the Cache instead of Calculate it each frame. 27) Change the Direct Lookup Radii value from 4.0 to 5.0 (A good value is when Direct is half of Database “segment length†value, which is already 10.0) 28) Change Bounce Lookup Radii from 0.0 to 6.0 29) Change the Density Diagnoses “Distance†value from 1 to 2.44 30) Since your Scene size is really small, you can see looking the Density Diagnosis Photons is really Huge, you will need to have around 300.0. 31) Change the Emission Photons from 100.0 to 1.0 32) Do a snap Shot, It will be Full White 33) Change in the Area Light Properties / General Tab / Intensity value from 1.0 to 0.5 34) Render a Snap Shot, it will be like this: 35) Go to Area Light Properties / Dropoff Tab / and Enable Dropoff and Change Dropoff Type pop-up from Linear to Quadratic 36) In the same Tab, change Control Distance from Absolute Value to Light to Reference. 37) In the same Tab, Change the Over Intensity from 1.5 to something like 60.0 37) Quadratic Dropoff + Light to Reference will tell Camera to simulate better the groups next to a Light, burning more the surface of the groups, in our case the windows holes. 38) Do a snap shot render, it will be something like this: 39) Change GI Window Primary Rays to 200.0 and Area Light Properties / Area Light Tab Primary Rays to 300.0 40) Change Render Window Info Anti-Alias tab / Anti-Alias pop-up to Adaptive 41) Added a Red Sphere only to show Why I changed the GI Window Bounces from 0 to 1. :) We see the Bleeding Red colors on the Floor. 42) Render a snap shot, it will be like this: 43) Last Feature which is really interesting and need to be used like last alternative is Light 1 Info Window / Properties / Customize Tab 44) I changed both Direct Illumination and Bounced Illumination graphs to show How it can help the user improve the Light scene, Open the project included and analyze it. 45) Render a Snap Shot, It will be something like this: Hope that helps Feel Free to message me any time :)
-
Ola, Stephane from our EIAS3D team discovered this interesting and “Free†Maya script which export multiple MDD files from Maya, these MDD files are compatible with EIAS. :) http://www.modomotion.com/ The second option is Point Oven tools (payed license): http://www.ef9.com/ef9/PO.htm Thanks Tom
-
Ola Dan, Please, Do a really simple scene, only a empty Room with a Window or a Door, we can try here do a Step by Step to help you understand Photons and GI :) Thanks Tom
-
 Ola Steve, Rodeo dont have this option, All objects needed to be constrained spinning wildly and then in a exact moment fly around with a gravity force in the center of these groups, correct? Thanks Tom
 -
Ola Steve, You miss controllable “Forcesâ€. Thanks Tom
-
Ola, Ian did some nice videos explaining How to use Photons + GI.. http://www.eias3d.com/category/video-tutorials/render/ but, we are taking care of EIAS 9 Photons. Lets see what will happen :) Thanks Tom
-
Hey Ito, These “errors†make the best discovers since the pre-historical humans :) Thanks Tom
-
Ola Al, Great TIPS!!! Thanks Tom
-
Ola Apu, Yes, Since I didnt know what you would like to have in the final Animation, was my first thought. :) Enjoy it Tom
-
Ola Ito, Totally modern and nice concept!!! Thanks a lot for sharing it Tom
-
Ola JK, “Hi. I was an EIAS user from some years back. Been using Modo and Maya for a while and am now learning Houdini. However, EI was always my favorite. Camera was always, to me, a very "pretty" renderer with a nice, filmic-like quality to it. It was not difficult to get good looking renders out of it like it can be with Mental Ray for example.†- Im glad you like EIAS like us. “I would love to be able to come back to it but, right now I cannot due to two particular issues - 1) no multi-threading in Camera (though I understand this is being addressed (at last!). and 2) no 16 bit or 32 bit linear gamma workflow and floating point image output. 32 bit OpenEXR files containing linear HDR image data are pretty much the standard now in compositing pipelines and that is what I need to output. What's the word on the possibility of getting this in Camera? (I would love to see you guys dump the Image file format altogether and output standard formats such as OpenEXR and PNG files instead.)†- Camera 9 is totally MP and 64 bits now, “The beast†:) - 16/32 bits output are planned, but only after EIAS 9 release. - EIAS 9 reads OpenEXR (ILM), We will made OpenEXR output available together with 16/32 bit output, make more sense. - EIAS 8 render PNG frames and we did some extra additions to this theme, but we will provide the info in the EIAS 9 release. JK, We are really in focus to make EIAS more and more powerful, fast and robust as soon as possible. “I would also love to see you support Collada and Alembic file types for getting 3D data in and out of Animator. It would be especially useful to me to be able to go from Modo to Animator or Modo ->Houdini ->Animator.†- Btw: Our new import system made us really happy. - We have some extra info about this theme, but I cant comment right now. - I read about Alembic from ILM, we didnt have time to look futher on it, we are running like nuts here. :) “In short, you guys need to convince me why it would benefit me to re-invest in EIAS again vs. staying with a Modo/Maya/Houdini workflow.†We are working really hard with lot of care because we always loved EIAS, I hope you enjoy it. Thanks a lot Tom
-
Ola Apu, 1) Go to your rest position of your animation 2) Zero out all deformation values 3) Parent the Clow Head in the coil "mola", move the Clow Head (children) to be in the top of the Coil. 4) Go to your Link window and make the Clow Head "inherit" Deformation like the Coil. 5) Go to your "Coil" Deformation window and re-size the influences deformation areas of the Coil to include the Clow head 6) Scrub in your Animation, the head will follow the Coil Thanks Tom
-
Ola AVT, Your tests are working really great.. Are you exporting from Maya using Point Oven? Thanks Tom
-
Ola AVT, Sure you can, you will need to use only one MDD plug-in with all groups as children, then place all MDD files in a unique folder inside EI Folder, like "FBX" for example. Then you will set the Folder "FBX" and set MDD plug-in to read all MDD files at once, you will write something like "BBallPlayerFBXASC03228_*.mdd", "*" means the part of the MDD files which change the name to represent the exact group. With this feature, you can easily read scenes with hundred of groups ;) Hope that helps Thanks Tom
-
Ola, So, we are two, because I love photons too ;) EIAS 9 will bring even more!! Btw: wonderful render.. ;) Thanks Tom
-
Haha.. Viva Chile!!!! Thanks Tom
-
Ola Michael!!! Wonderful renders!!! About EI / Archicad, please, post your request here :) : http://www.eias3d.com/forums/forumdisplay.php?fid=10 About, the Photons problem, I didnt understand completely, could you explain me step by step the prb? Thanks Tom
-
Ola, Alisdair Jones Demo Reel posted :) http://www.eias3d.com/gallery/ Enjoy it Thanks Tom
-
Hey Rick!!! Wonderful my friend, I was traveling, I lost this thread :) Thanks Tom
-
Ola James, Yes, you will be able to use all RAM in your machine and all processors, larger scenes, really larger render sizes with GI and Photon, so, you will not need to have several Slave folders if you want, only one Camera 9 per machine, Im totally addicted to EIAS 9 :) Thanks Tom
-
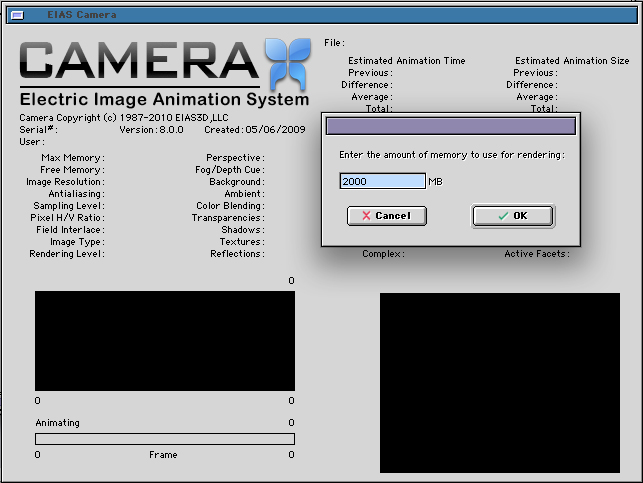
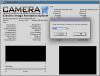
Ola Jeran, Its simple: 1) Close Camera 2) Delete the .ccn file and the render Cache in the EIAS 8 folder 3) then, double click in Camera and go to Camera Menu Bar / File / Settings 4) Change the “Amount memory to be used in render“ from 128 to 2000MB its the maximum amount allowed by EIAS 8. Thanks Tom
-
Anyway to see mousetracker path?
Tomas Egger replied to joseph56's topic in EIAS Plug-ins and Shaders
Ola Joseph, After the steps I wrote, you need to open the Ubershape Channels Arrow / X-Form / and Double click in the Position channel :) Then you can look in the F-Curve window. If you want a curve with less keyframes to edit, instead of small numbers like 0.001 in the Maximum Fit DIstance, you can increase it.. like 0.1 or even 1.0, you need to try and see if you like it. “12) Start Frame 0 and Maximum Fit Distance like 0.001 (small numbers like this force the path be exactly like your Mouse Motion)†Thanks Tom -
Ola, Lets hope all the best to our Japanese friends, from our EIAS3D family. Thanks EIAS3D team
-
Ola Felix, Enjoy it.. Thanks Tom