Chenarch
-
Posts
74 -
Joined
-
Last visited
Content Type
Profiles
Forums
Events
Everything posted by Chenarch
-
I am making an "object" VR render. Output is Quicktime and playback only works with Quicktime 7 (won't work w QT10). It's rendering fine in my single Camera from same HD. When I send this render file to Renderama, which is on another Mac Pro and set-up for ten Cameras... the Renderama crashes. I've tried purging old cache, starting over and such, and same thing: Works fine using single Camera within EIAS8 but crashes on Renderama going to another disk... any suggestions? Thanks!! Richard
-
Thanks all !! I really hope it works out !! Best regards, Richard
-
EIAS 3D folks, I have launched my recreation project on Kickstarter! Take a look. I hope I can make this work. About 99% of the modeling is FormZ, all the rendering, lighting, in EIAS. Some short animations of building will follow, if I get this project funded. Please feel free to pass along to anyone who might be interested. Best regards and thanks for your help all, Richard http://www.kickstart...world?ref=email
-
Hi Dave, Thx for responding. Yes it's rendering in strips for a still image, one strip per camera. I reduced number of photons by 33% (total of 9.4 million down to 6.6 million) and then reduced cameras from 10 down to 6, and it seems to be back on track. I mean I was able to shoot the photons around the room and get a prelim image. Then ordered 16GB more RAM for that machine. It's very affordable these days. When I supercede a .fac with an updated .fac I sometimes just leave the old one there because it's just referenced anyway. Maybe clearing out the render files every now and then... ? Thanks again, Dave! Rich
-
Hi everyone, I've added some elements to my very large scene and trying to get a comprehensive image. I added some lights and two sculptures. Scene is 2.5 million polygons. I have four principle lights shooting photos and a sun (parallel). The skylight object shoots 3,800,000 photons, window object shoots 3,600,000 and two radial lights at .1 intensity for general illum shoot 1,000,000 each. I've been sending to a Mac Pro Nehalem with (10) Renderama cameras employed. Total RAM on that machine is 12GB. For the first time, now Renderama errors occur due to "ran out of memory." Am I simply asking the MacPro with 12GB to do too much? Is there a way to render composite layers one by one? Are there ways to slenderize the files? Can I do things like delete unused .fac files, elements that are turned off, etc. It seems all this info will be sent to Renderama files. It also looks like Memory is not too expensive these days. Two 4GB sticks at OWC is only $66. Thanks all! Richard
-
I suspect that bottom-feeding domain companies grab names they think they can sell later on. This site doesn't look like anything. It looks pretty generic. I once let a domain name expire that I'd used for a while, and within a day a company in Texas was trying to sell it back to me for $20,000! Richard
-
Hey Richard, Great thoughts, thank you!! I was only getting into playing with it, so your suggestions are well taken. I did try to get really close (diamond in foreground) but I could see getting closer. Some of it was dropping them in Rodeo and getting slightly random results every time. I like the idea of turning down reflection, flares, more caustics. At one point I had caustics light spilling back out onto the landing surface. I'll try some more stuff. That was really the goal of this exercise, to play with the actual geometry of a cut diamond, which is tried and true in real life for making "brilliance." Thanks again, and I'll get some more back up here. Rich:)
-
Thanks, folks! As to the way it tumbles on each facet, I looked up diamond density to get right in RODEO. Then assumed the surface was black granite and was very dense. Adjusted friction and bounce until it looked about right. Dropped them from varying heights. As to the light, there are caustic refractions, almost full transparency, transmission, reflection, diffuse and specular adjusted here and there plus a world reflection that was grayscaled... Using GI didn't add anything to this scene, and instead, tended to flatten out the light. Rich
-
Hey all, A test of EIAS lighting using the real geometry of a diamond and various lighting set-ups (also RODEO and 60 fps). I was curious if I could recreate the effect of a real one. No photons or GI in this... Rich rc_h264.mov
-
Tom, Thank you so much! BJM, Thank you so much for the good word! I also like the slight noise, but I wasn't quite sure how to adjust. When I went up to 3,000,000 photons (or thereabouts) for the four area lights, it got a lot sharper. Should I also be increasing or decreasing rays in the GI? I would like to try Z-Brush. I did make the column capitals using FZ and Silo. I will look into that. I have seen tutes and it is almost like painting 3D. Could be a massive time saver. Thank you again for the confidence boost. More later. Richard
-
Hello friends, Just wanted to say, I was kind of rushing in August to finish a couple of renderings (EIAS!) for an article I wrote that was published at the Ecole Polytechnique in Paris, FR. Article posted here: www.cgcapitol.org To see the entire journal, google "Libellio d'Aegis". I am currently making the allegorical sculpture for the room, but I am doing this with clay. The sculptures will be 3D scanned by a Princeton professor and I will insert into model and re-render. I have enclosed a progress photo of clay, as you can see, there's no way I could make this digitally. Hope you like it, more to come I hope! Rich

-
Oh this is great, Tom, thanks! I was trying to save it to my projects files, and it probably didn't recognize that location... I will try again. Thank you for the incredible compliment! Coming form the Leonardo d'EIAS himself (well, plus Cristobal) is incredible! More to come, as I try to add sculptures (these I am making with clay and will 3D scan) and the oil lamps... Best, Rich
-
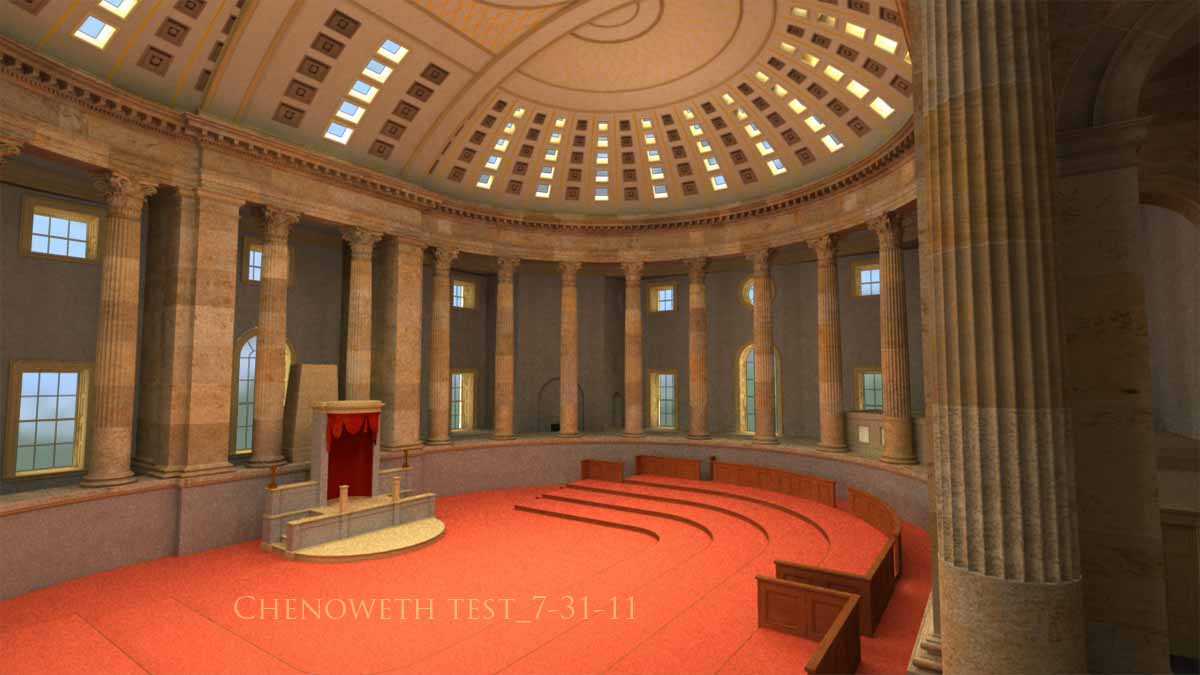
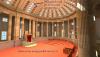
Ola Tom, I tried to send my photons to file as "permanent" last night and I only got "camera error" messages. The ten rendering cameras are on a Mac Pro Nehalem connected w ethernet. Should I have put the .phm folders in each Renderama Camera Folder? I was a bit confused. But since I needed to send this to someone today I rendered using "Always." I like the Parallel Sun, but as Mr. S pointed out, I can get a "softer" sunlight using spots. But the idea of setting up 15-20 Spots in place of a Parallel seems daunting. Maybe a gigantic Illuminator? It also would be nice to get illuminated dust motes, but I figure this I can do in post-prod in Photoshop. Like streams of light...? Here's the latest pic as I continue to add elements. Lately I painted a carpet pattern and modeled the curtains in FZ. Any tips or advice would be greatly appreciated! Rich

-
So a corollary question is this: If I have shot the photons and the light data is in the database, if I adjust a light level or add a light, I should turn GI back off and go back to the Always-None-Always and begin again? Thx, Rich
-
I hope to post a couple of recent renders of the Large Neoclassical Room later today... but I had a general query, and see if I'm getting this right. 1) I do a render using: Always-None-Always (mode-baking-calc) shooting photons with GI off. Results good. 2) I do a render using: Always-Database-Always with GI off. Results good. 3) I do final render using: GI secondary-Database-Always with GI on 1 bounce only (no sky) The results are looking good, which I will post later today... but I just wanted to ask at what point is the bouncing light data being stored? At the (2nd) step? Question1: If I then add objects, should I go back and re-shoot the photons (I'm thinking I need to do this). Question2: If I change textures at step (3) I don't need to re-shoot the photons because that info is stored in database, correct? Thanks everybody! Richard
-
Thank you very much for the compliment, Richard. You've helped me with problems many times and I appreciate it. For me, banging my head against wall usually works over the long term. You're right about the scale. Small glowing light sources around room with other smaller features will add interest, bouncing light and scale (I hope). Polished mahogany will add some reflections. Thx again! Richard
-
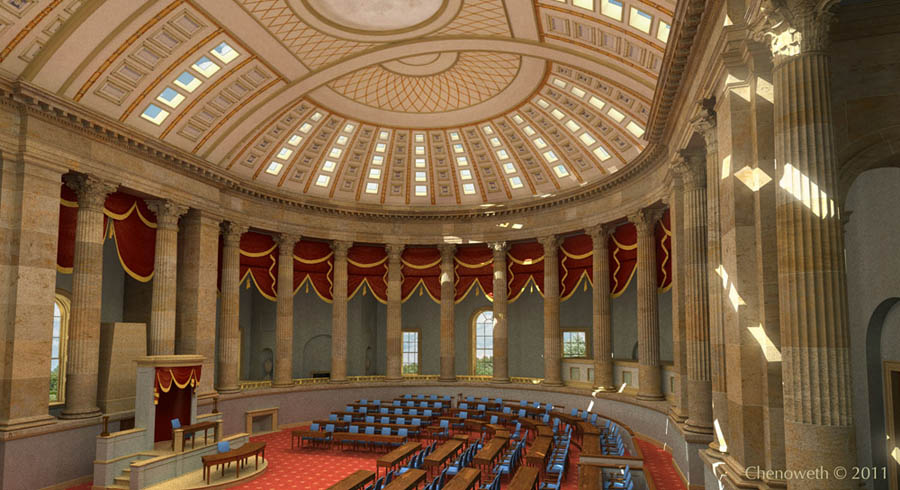
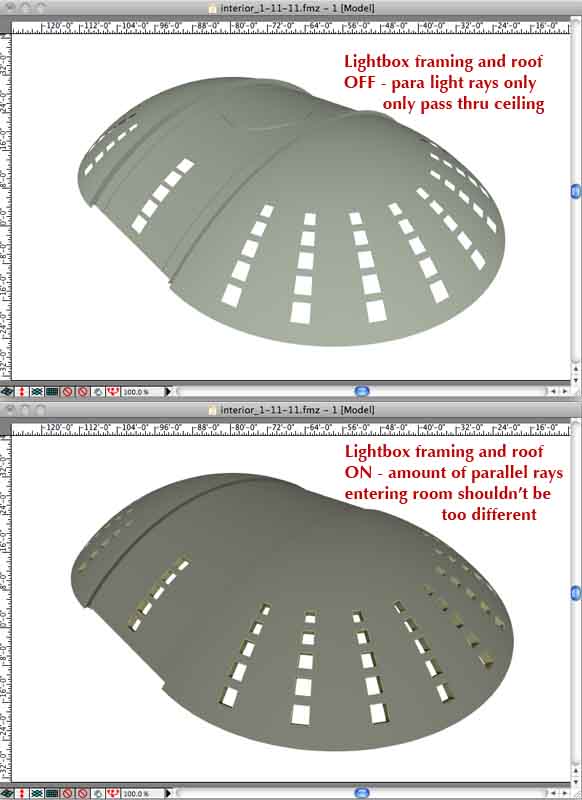
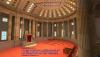
Hey all, I'll try to do that, Tom! It's almost a million polys. Will assemble an abbreviated version... Most recetly, I told the "Sun" to "exclude" the skylight framing and roof material and it all came out on one render... I do like the light levels in here. This is TWO area object light sources casting photons, TWO small radials casting photons, and a sun casting parallel. Next will add fireplaces, railings, argand lamps, more furniture, possibly sculptures... Rich
-
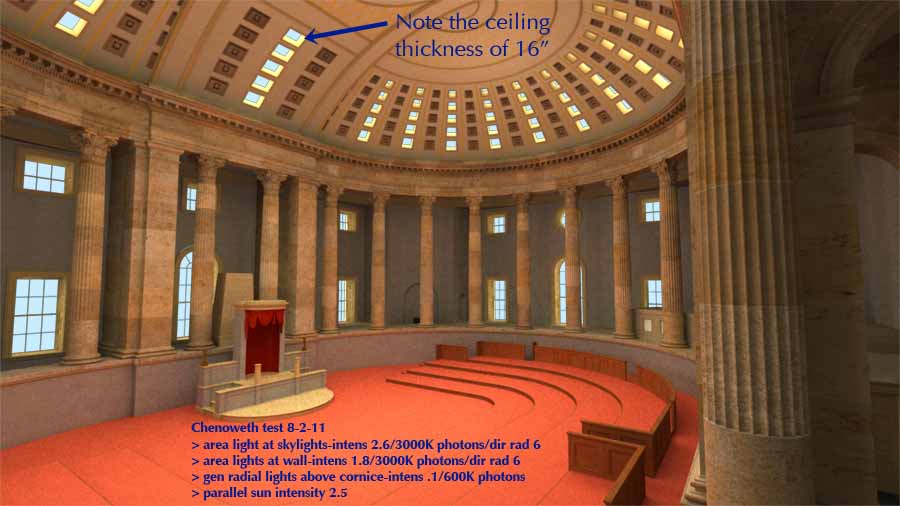
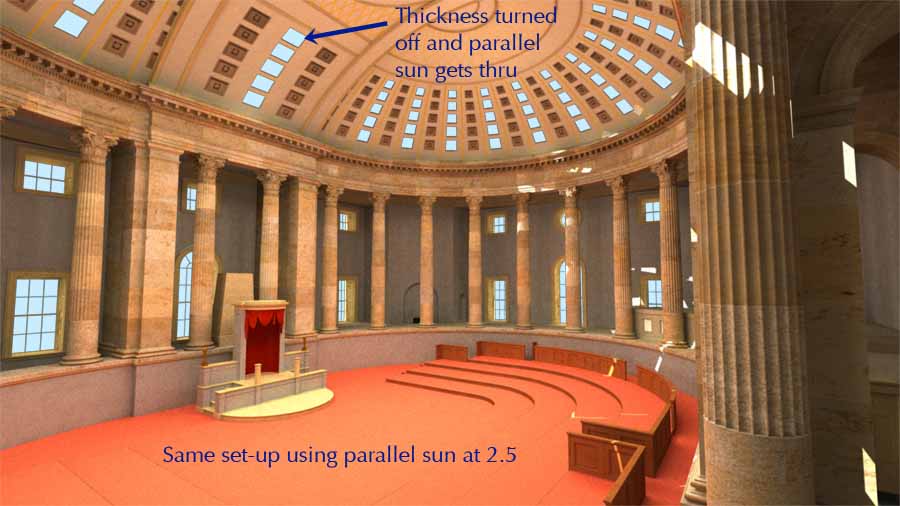
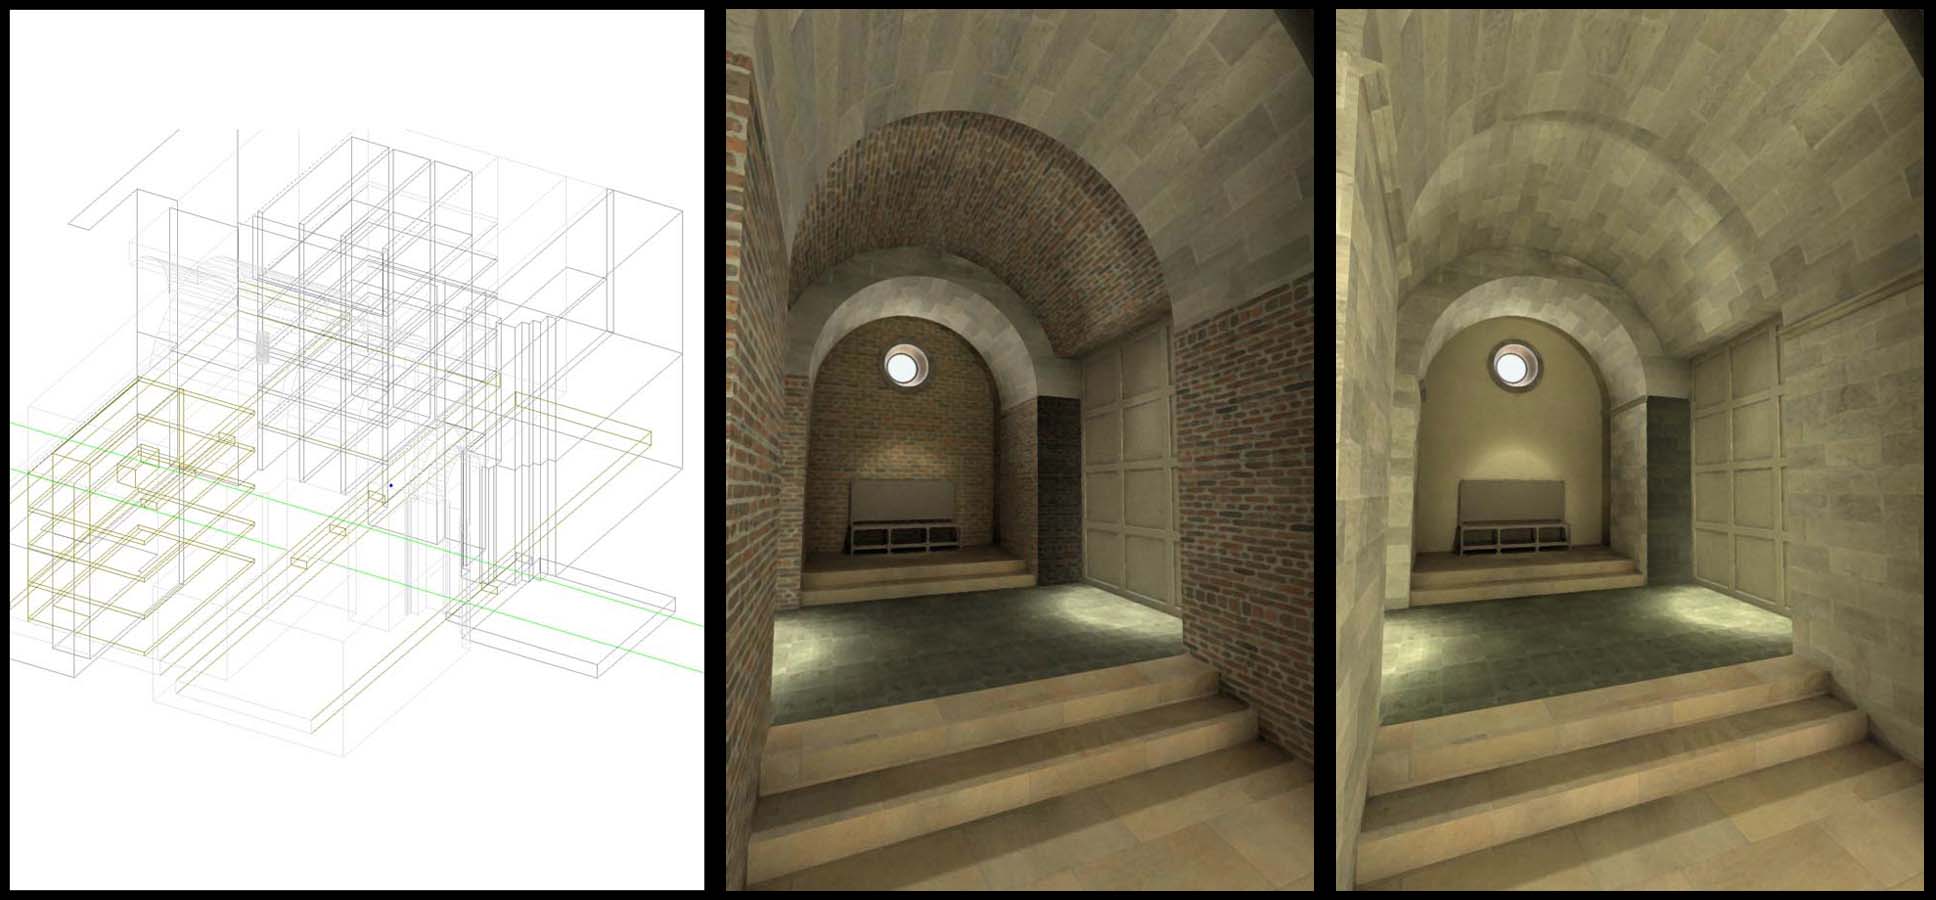
Thank you Tom and Mr. Smith! I did accidentally have "glass" embedded into my .fac for the framed light openings. So I removed that glass (turn it off) and was then able to get Parallel Sun to go through... ONLY when I turned off the roof thickness and the Sun only had to pass through the plane of the ceiling. Here are some images to demonstrate. Room is lit by four lights shooting photons plus sun. When the lightbox frames are turned on, Parallel Sun is stopped, but it shouldn;t be. It should be diminished but not completely stopped. I will try the idea of spot lights, Mr. S ! Yeah, I think direct light should be softer. I'm using 3000K photons each in the two main light objects, one light object for skylights and one light object for windows. I have these objects Diffuse set at "transparent" but full Luminance. When I make them Transparent in Transparency tab, they completely disappear. Thanks! Rich

-
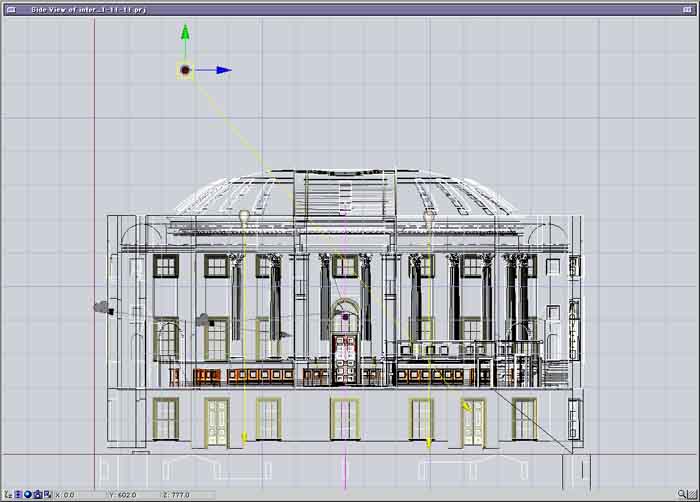
Hi Dave et al, This is where I am... adding models like columns, furniture, platforms. It's about a million polygons now. There are four lights in this scene, all using photons. 1. Roof Light Object (skylights): area light/ray count 2000-900/Intensity 2.8/photons 2500K baked/Direct rad 6 2. Wall light obj (windows): area light/ray count 2000-900/Intensity 2.0/photons 2500K baked/Direct rad 6 3. High light above cornice one end: radial light/Intensity .1/photons 400K baked/Direct rad 6 4. High light above cornice other end: radial light/Intensity .1/photons 400K baked/Direct rad 6 The reason for high radial lights above cornice is to try to gen some shadowing underneath the cornice to bring it out more. Dave, adding lots more photons took away almost all the "noise," but I noticed as I added lots of objects, some of the noise was coming back. Would this be right? More polygons requiring more photons? Confusing thing: I have tried many times to add sunlight to create direct shadows coming through roof using a parallel light. I can never get this to work unless I turn off the roof surfaces. Is my "sun" direct light being blocked by the "light objects" at the windows and skylights? I have masked them as transparent at the diffuse channel, but that light just doesn't come through into room. ?? Intensity of that was 3.0 and it was 3000-4000 ei units away. Still need to add gas lanterns (more tiny light sources) and lots more funiture to this scene... Thanks for taking a look. I'd like to know why sun light shadows don't come though! Curious. Rich

-
Thank you for checking, Tom! Sorry to bug you about it. It was a foggy memory and I eventually found it in an odd location... Best always, Richard
-
Oh thanks for a quick response, Dave! Thank you for the tip on quantity. I definitely will post more on this project. Best regards, Richard
-
Timmo, et al, I have two Mac Pro machines plugged into a Verizon modem. I run EIAS off machine 2008 and 10-12 slaves off machine 2009 and it is only doing it through the ethernet connector. There is no firewire connector. It works really well. Almost no effort. They're set up as each having a slave folder, then launch them one by one. I use five on one HD and five on another HD. Then just make sure Renderama back on first computer has those correct addresses in there w port numbers 1616-1625 or whatever. Rich
-
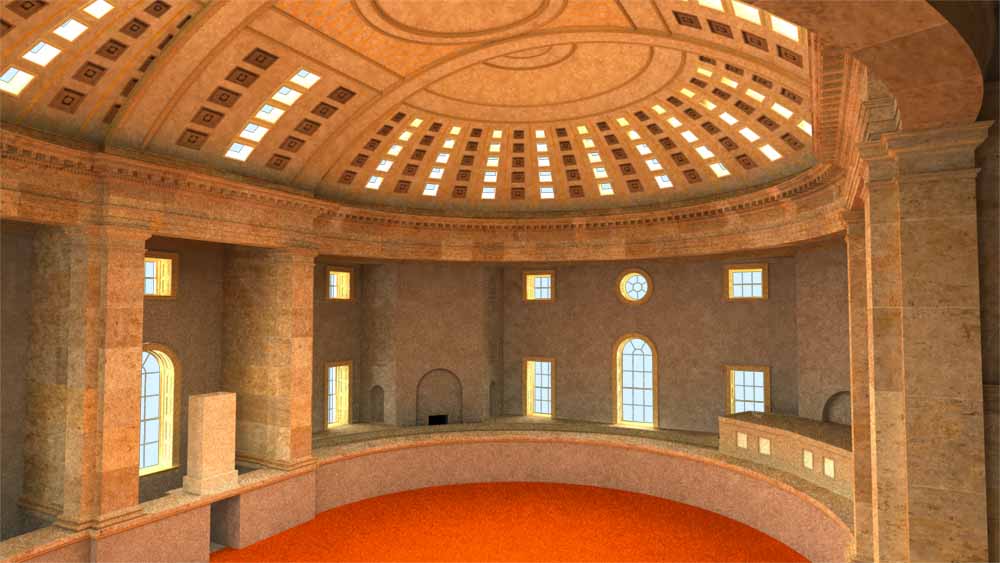
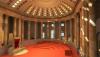
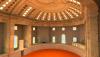
Hi all, I am back to this big neo-classical room and using photons to give it a realistic illumination. The room is about 1400 EI units long and 550 EI units high (I've figured out these are basically the dimensions in inches). This lighting is with a light object that covers the bands of windows in the roof, and a second light object covering the side windows. Each light object is basically a group of objects placed very close up to window openings. I like the light levels and the coloration, but it's looking a bit like an Impressionist painting right now. Is this noise? Lookup Rad is 40. Number Photons is 500K. Intensity is 4.0. Direct illum from sun doesn't come through due to depth of roof structure. Any thoughts would be most welcome! Richard
-
Maybe a year ago or so, Phil Martin emailed around about a "second license" special, and I purchased one. Were dongles ever sent for those second licenses? I can't recall. Thanks! Richard
-
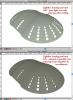
Haven't been here for a while, but just wanted to say that I'm really lovin' these photons lately. They got me over a tough bump recently. A client wanted to visualize his design for a Columbarium and they sent me a "junk model" from Sketchup. In only a few hours I was able to get back to him with these various options of textures and lighting (yea photons!). It impressed him and his client and made their meeting very valuable... http://www.chenarch.com/sample_columbarium.jpg