
Diego
-
Posts
208 -
Joined
-
Last visited
Content Type
Profiles
Forums
Calendar
Posts posted by Diego
-
-
Hi,
I have worked many times with .rpf in AE and works exactly as shown in the video tutorial except for one thing: the mask that generates EIAS has no antialiasing. Making corrections either color or depth of field objects edges are not clean.
It works only if you make subtle corrections but if you make a big changes then you will see the objects edges.
There is a solution mentioned here above, it is to render 2X needed size and reduce by 50% in AE, then the mask works better. But rather complicates a lot the workflow both EIAS and AE.
If the antialiasing problem is solved in future EIAS versions then this would definitely be our workflow as in one shot you have the Main color render plus Dof, Fog, and individual masks for each object, a dream.
Cheers
Diego
-
Hi, Wow! not known, very interesting, after so many years!
It would be nice to have a printable list of all keyboard shortcuts and Click + combinations in Animator.
Thanks for sharing that.
-
Ola Diego!
The main difference about my setup and Adaptive Sky Map is: I have bounced colors in the groups of my scene, Adaptive Sky Map doesn't do that.
And pay attention in the Sun light / Photon tab / Energy Bias, the default is 0.65 and I am using 0.9, this increase the bounced color.
Second, Making Parallel light (Sun) bigger, Size U and V (emission area), also improve the Bouncing color.
All these tricks make the render more realistic.
Hope that helps
Thanks
Tom
Hi Tom,
I tested your lighting settings, it is wonderful! What you say about bounced colors it is really cool.
This way of lighting scenes eliminates black in shadows and replaced it with color, it is much more realistic.
Thank you very much for share it and explain how it works.
I have Just a question about it: How is the subdivisions number in the hemisphere that contains the lighting image working? I made tests and the more subdivision in the hemisphere I use, I get more definition in the shadows and bumps.
Please can you explain a little bit?
Thanks
Diego
-
Ola Tom,
Thank you very much for the sample .prj very interesting I'll give it a try instead of Adaptive Sky Map I usually use for outside scenes.
Thanks
Diego
-
Ola Tom!
Good job, I love the lighting and very well made materials, the cool sexy female troopers with belly dance and breakbeat, congratulation to you!
Also the very well done instrument models from Reuben.
One day you have time would be nice to know the lighting setup used in this scenario.
Congratullations to all the Team.
Cheers
Diego
-
Hi Thomo,
I am constantly driving projects 20-25 million polys in Animator then become 30- 45 million polys in Camera and I have no problems to handle. I can animate camera and objects perfectly.
Please, How big are the projects that Animator close to you?
Thanks
Diego
-
Hi,
I think a very good and useful idea, I missed it on many occasions, A section with materials, displacement and normal maps, terrains and environment setups.
Thanks for propose Steven.
Diego
-
Hi,
Here is a link to the mov, 3 years ago.
https://m.youtube.com/watch?v=qjXNLTCh5jk
Steven, Kmyst it is nice to work with it, the scale is a little critical and can take time to find the appropriate numbers, also on some camera tilts can cause problems but apart of that a good effect of clouds is achieved, much better than the built in Smoker which it is more to smoke effect than clouds. Flight thought scenes are slower to render but the results can be very good.
I never used Mondo Clouds. Konkeptoine had very good plugins for sky, it's a shame that so many good tools are lost along the way.
I think Kmyst it is a good option that only needs to be ready for 64 bits.
Thanks
Diego
-
Hi,
KMyst it is also working here, I really miss not being able to use it in 64 bit, it is currently the only way to have volumetric clouds on EIAS 3D but not being ready for 64 bit does practically unusable for me. For this reason I earnestly request developers to include Kmyst in the Shaders list to be upgraded to 64 bits.
Hi Joe, I remember that there is a sample document showing how to fly through the clouds, we've used it several times and it works great.
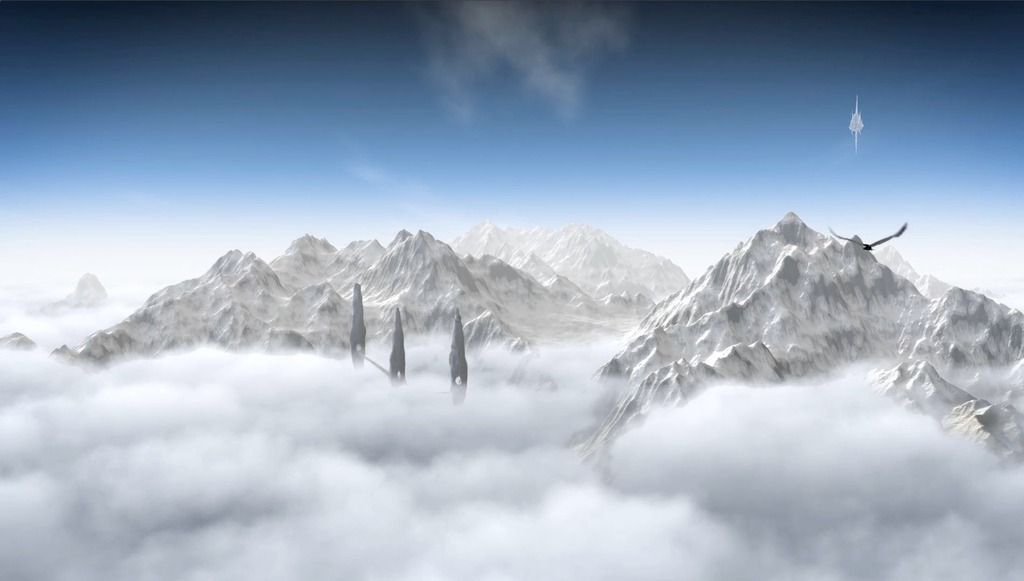
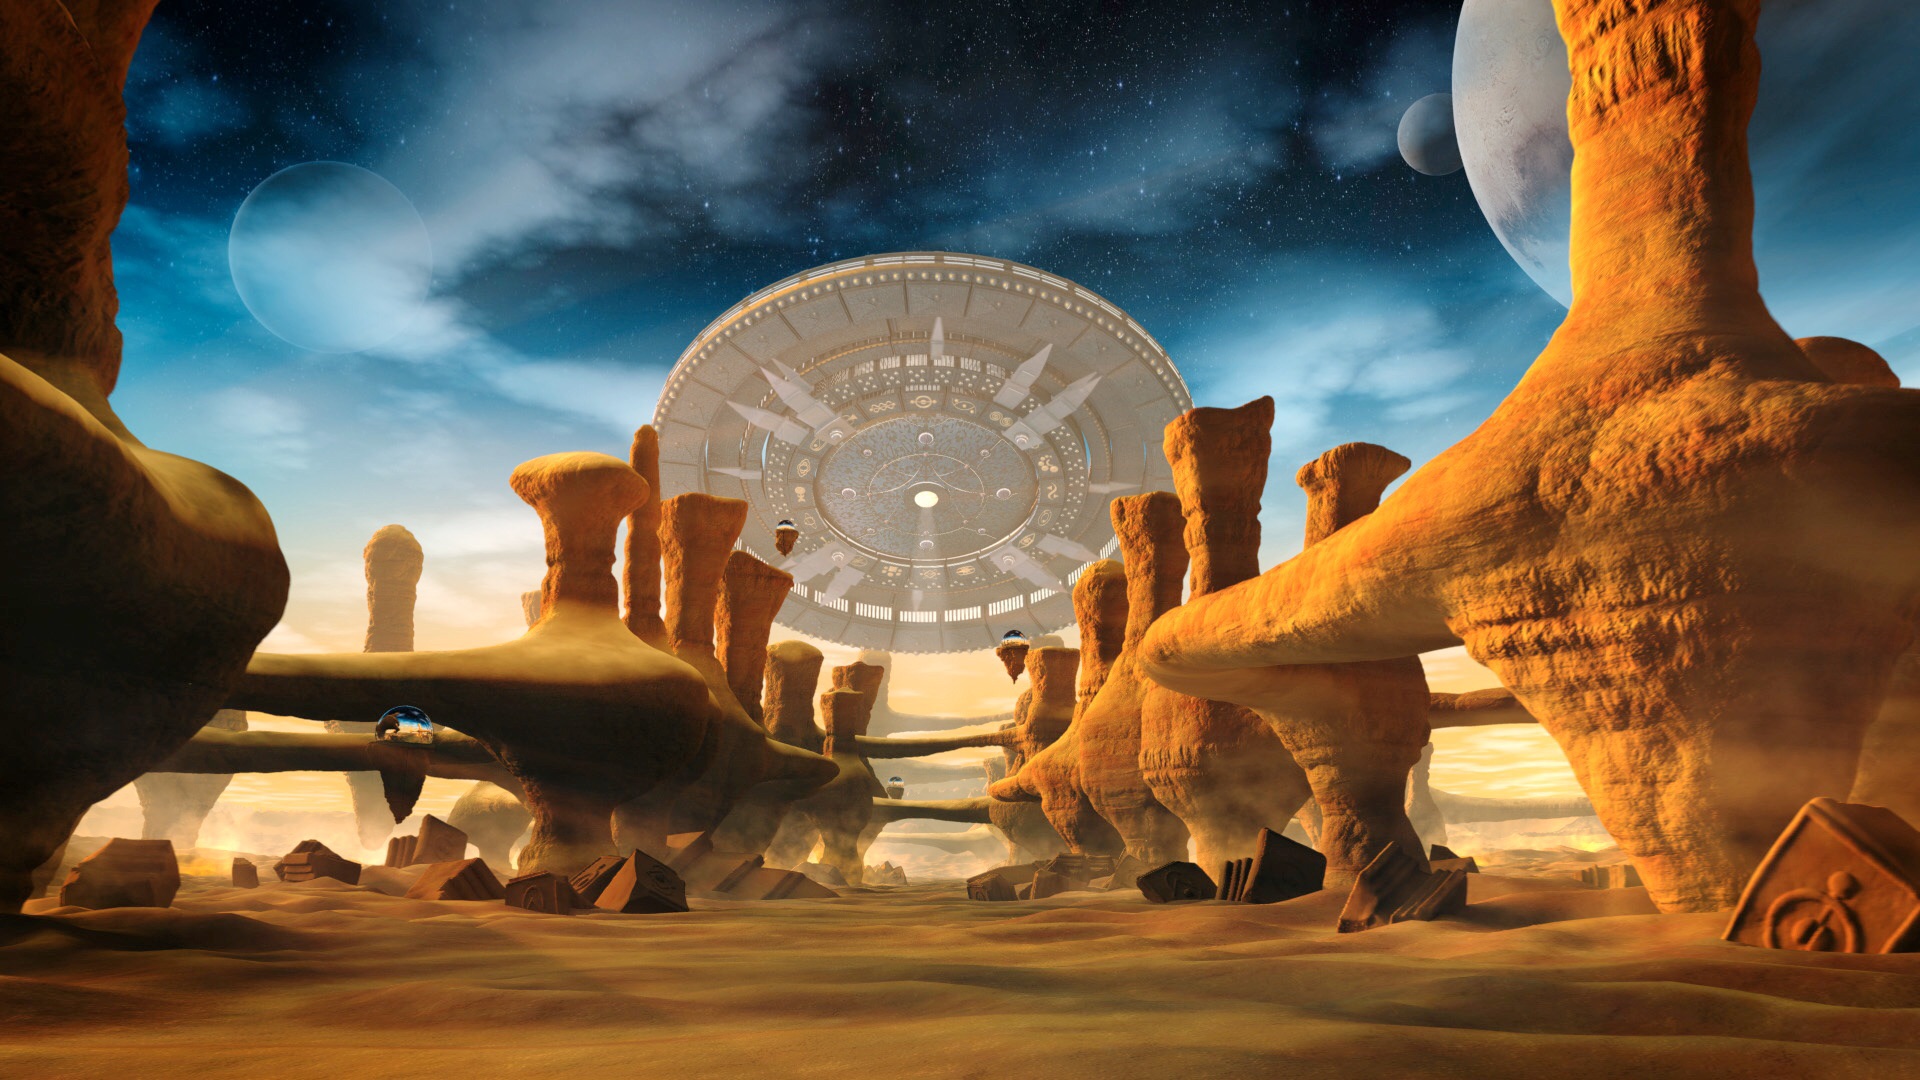
This is a frame of a scene made with Kmyst evolving moving clouds, I love this Shader I hope to soon use it in 64 bits.
Thanks
Diego
-
Hi Alonso,
I use hi AA settings like 2x2 or 4x4 in both model options and general AA. This works almost always
Thanks
Diego
-
Hi Greg,
To me it makes sense what you say, this explains that the problem does not seem to be related to a specific project, I currently do not have many graphical applications on my PC but I will do some testing to see if I can reproduce the problem so well. Developers are taking note of the tests are doing here. I will try to saturate the graphics processor and let you know if the same problem occurs.
Thanks
Diego
-
Hi Greg, I've never had this problem in my studio because it is not in my workflow, I use Mac for scene creation and I find easier to use a Mac as master Renderama Machine.
The only time that happened to me was in Hamburg collaborating with the Planetarium of the city, developing an animation for full dome projection. They have all PC's and this problem about long time for "writing status" began to occur.
To my surprise when Tom asked me to reproduce the same error in my studio I prepared a PC as Renderama Master and the error did not appear in any of the ways.
So we are now waiting to see if the project that produce error in your render farm also produces in mine and begin to isolate the problem.
Thanks
Diego.
-
Hi Thomo,
My main PC machine is a Intel i7 CPU under Windows 7 Home Premium 64 bits 16GB RAMS and graphic card an Nvidia Quadro 600. Same for the slaves except the graphic card.
All my projects are done in Mac. I tested with projects done in PC and the problem has not appeared.
Please try to simplify to the maximum the project with which you are having this error, try deleting items until the problem disappears, then returns a step behind and then upload it to DropBox or similar and well see if in my render farm is still producing the same problem, see if we get so isolate the problem.
For me the problem is not in the main machine or slaves or in any projects if not rather on a specific network or Renderama status. Let's see.
Thanks
Diego.
-
Hi Thomo,
Now is the moment to solve this issue about the endless "writing status" on PC master and PC render farm.
I had this problem a few months ago working in Hamburg Planetarium. Now in my studio I have not been able to reproduce the same problem, I have a render farm with 10 x i7 PCs under Win7.
I did two days of testing on PC Rama, I used up to six renders queued and interrupted them and activate them back, using heavy projects that I already knew had given me errors in Hamburg but I have not managed to reproduce the problem of endless "writing status" I had in Hamburg.
It looks like this problem only occurs under certain conditions and depending on the network operating system and processor you use, in my case with i7 and Win7 this problem does not manifest.
Please can you do some tests and see if in your renderfarm there are some conditions to isolate the problem?
As I said before now is the perfect time for developers to solve this problem but we need to tell them specifically under what conditions the problem occurs.
Thanks
Diego
-
Hi Alonso,
Thank you for your words!
Yes please, I'll be happy if I can help. I use Bio Bision BVH format for Optitrack Mocap.
Thanks
Diego
-
Hi,
An other quick idea: A bitmap gradient Applied as Diffuse on Camera Projection map Tab. You have to create a "Set" for the water and apply the Camera Map to it.
Hope this help.
Diego
-
Hi Mark,
Yes exactly I only have to realign the textures in PSD. It is a ten minutes task that I have to do only for new models.
This problem only appears in software that can't read multiples UVs on same mesh.
Thanks
Diego
-
Hi Mark, I think that the textures and the UVs are well placed, the seams are noticeable because when you split the character mesh in different parts the phong surface remains unaligned, it is a kind of effect that happens in the Normals level. If you split the caracter mesh in C4D it happens the same. It looks like the solution is to use only one mesh that can accept multiples UVs like C4D, Daz or Poser, or reorganize the UVs as I did.
Thanks
Diego
-
Hi Mark, yes I used just one mesh and one material, eyes and lashes included.
Daz models uses one material per UV layer it can address many materials in the same mesh, in C4D you can have one material per selection polygon also many materials per mesh.
Thanks
Diego
-
Thank you all for your nice words.
Looking for a way to get Daz / Poser characters in EIAS3D I found two main problems, one is the animation that it is actually solved with MDD reader plugin.
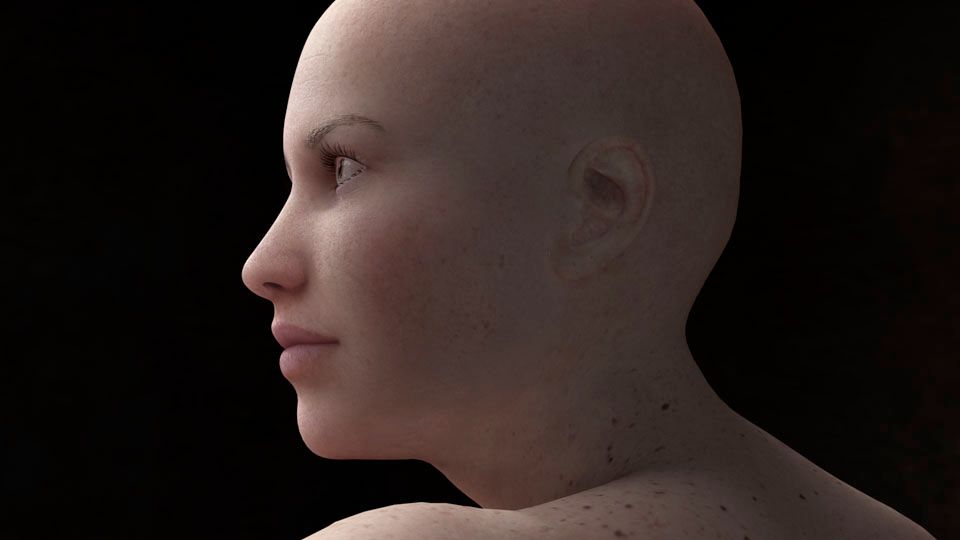
The other is UV´s coordinates. Daz and Poser use multi layer UV´s which is not actually supported by EIAS, the only solution is to split the character in different geometry, but it is awkward to handle many objects and then assign MDD's, textures and refine materials of 20 or 40 different geometry, and it does not look good because it always seams textures are noted as in the sample photo red circles.
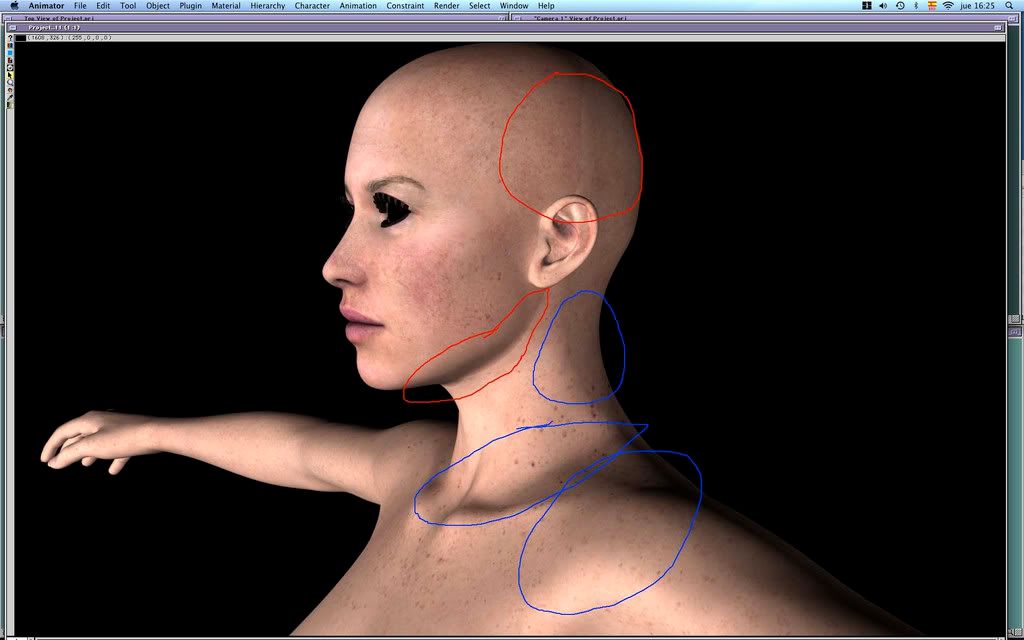
For this reason I had to jump into the dreaded world of UV´s :) the end is like all fears, it was not so.
I made this:
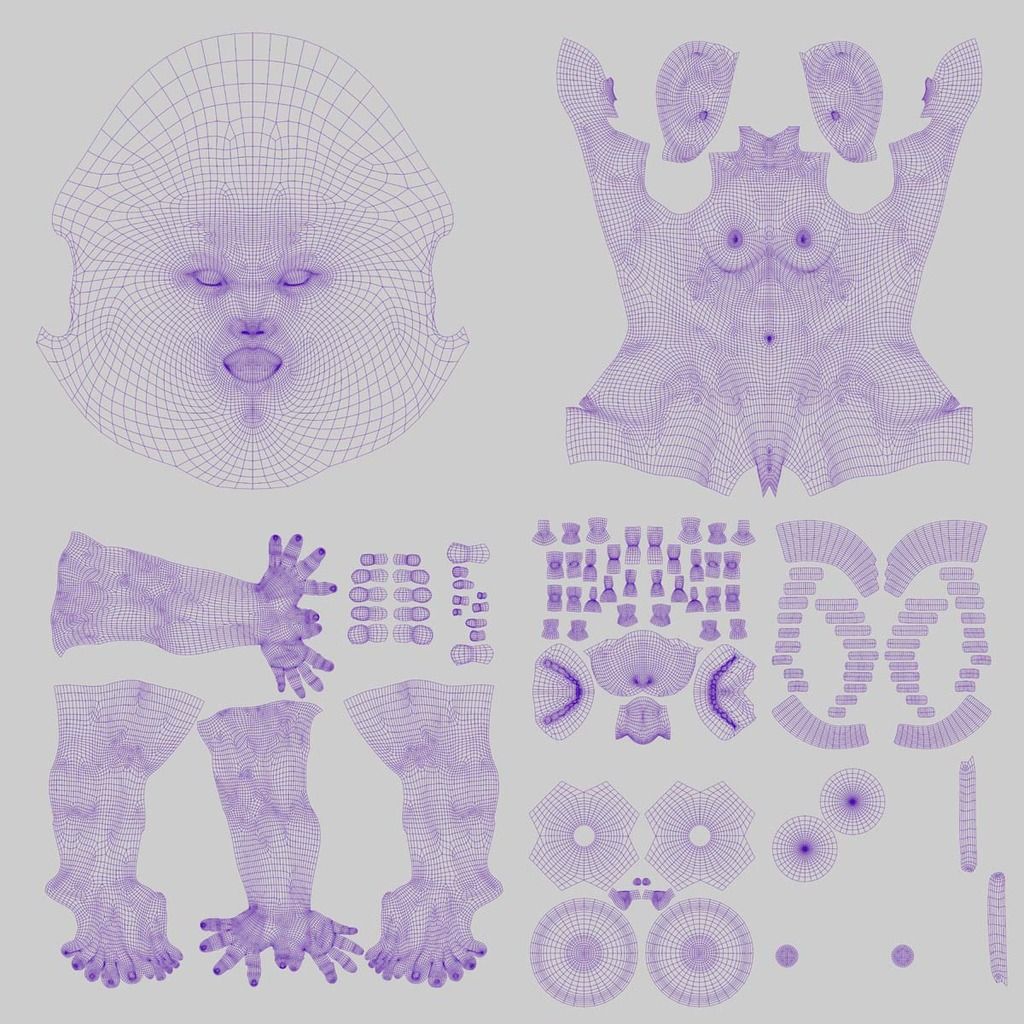
So now I can import any of the hundreds of Victoria based models into EIAS with the same UV's and just place the textures in the new template in Photoshop, I have first to open the model in Poser, then open it in C4d to just change the UV's label then open it in EIAS. Yes, it is a bit complicated and you have to have Poser + C4D. Surely also can be done with DAZ3D and other programs.
I dream with a Little Big plugin to apply the new UV´s to the model for this, I would be happy to help on what I've learned about Daz and Poser characters models, but I do not know programming.
Doing the same for Michel and Genesis opens the possibility to integrate almost all the characters from Daz that are thousands
Here is the result with unmarked seams and all in the same geometry including eyes, teeth, tongue etc.
if someone finds interesting this information and want to know more I'm happy to share.
Thanks
Diego
-
Hi Mark, it is a Mocap I made with 8 Optitrack video cameras in .bvh format. Some motion for hands and expressions added in Poser, then open in C4D for UVs works and MDD export.
MDD it is a fantastic way to connect EIAS3D with many other animation programs like Marvelous Designer. And it is really flexible at changing speed in time line.
Thanks
Diego
-
Hi, a test with Marvelous Designer imported via MDD,
The exported cloth mesh 500.000 polys aprox. MDD size: 1.9 Gb
The dancer model from Poser through C4D.
Diego
-
 2
2
-
-
Hi Thomo, I don't know if I understand well but the name that Camera shows when "Baking Database" is the name that you choose in photons map window for the .phm photon file for this specific light, that name can be changed at any moment in Photon Map / Calculate/ Permanent window.
By defaul it use the name of the light in project window the first time you ask for the .phm, if you change the name in Project window then .phm file remains with the old name, you have to change it in photons window again.
Cheers
Diego
-
Hi, nice character texturing and rigging.
Yes, V9 Bullet is really cool, fast and fun to play whit.
Diego.
EIAS & VR
in EIAS General Forum
Posted
Hi Nige,
As Tom said I already did 360º fotage with EIAS, it works perfectly, the only thing is that you have to make an array of 6 cameras attached to a cube and then sew them in After Effects that the latest version already has a filter to sew these separate renders.
If you need to do stereoscopic 360º then you have to put two arrays of 6 cameras each and separate them 6.5 cm to emulate the separation distance of human eyes.
I you do still VR you have to use Cube Map proyection. Stereo side by side.
If you do animation VR use spherical map proyection. Stereo over under.
I hope this help, please ask any thing you need.
Cheers
Diego